Unlock the full potential of your design projects with Grasshopper Parametric Design, a revolutionary tool that transforms complexity into simplicity. Discover how adjusting a few sliders can lead to endless possibilities, enabling you to create more innovative, responsive, and sustainable designs effortlessly. Dive into the world of parametric design and see your architectural visions come to life with unprecedented precision and flexibility.
Table of Contents
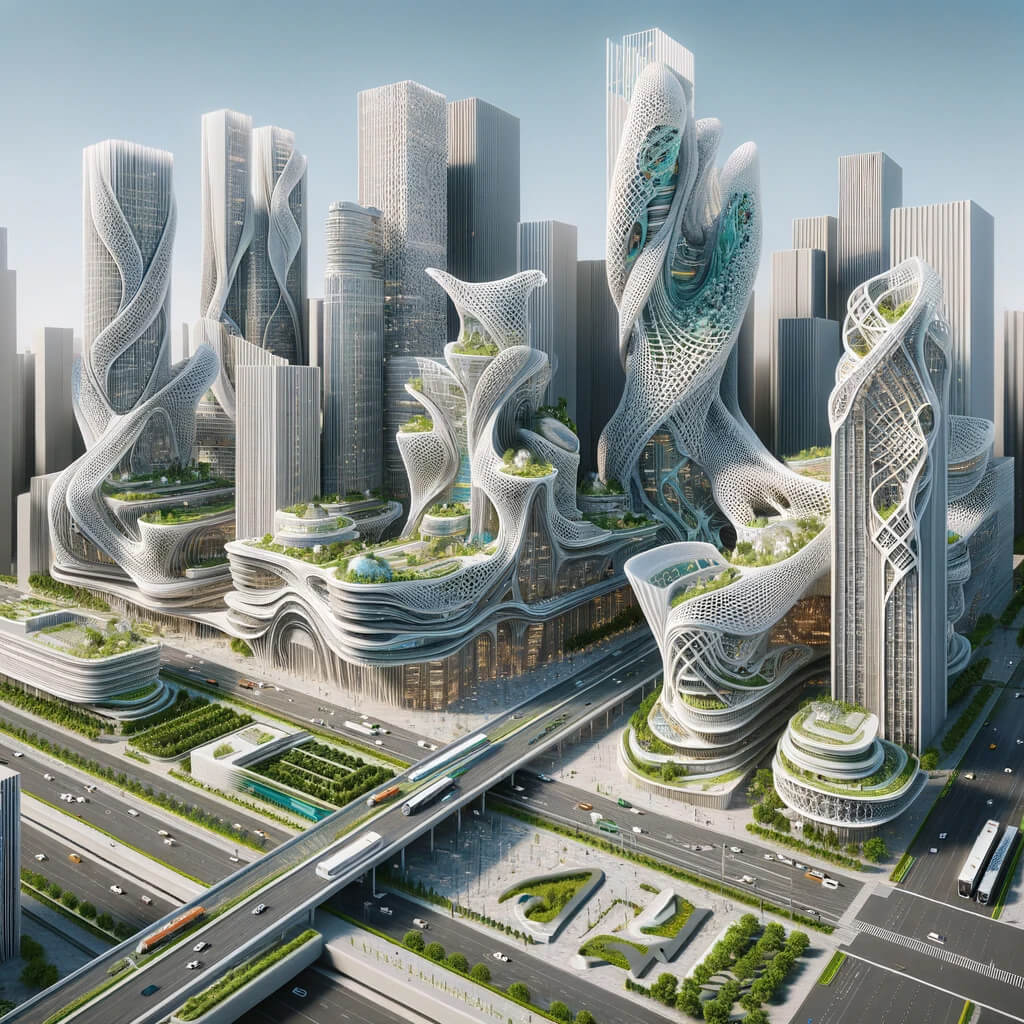
Parametric Design with Grasshopper
Parametric design with Grasshopper is a powerful and flexible approach to architectural and product design, enabling designers to quickly explore a wide range of design variations by altering parameters. Grasshopper, which integrates with Rhino 3D, offers a visual programming environment where you can construct and manipulate complex models and designs without writing code in the traditional sense. Instead, you use a graphical interface consisting of connected nodes to define and control the relationships between design elements. This approach allows for an iterative design process where changes to parameters automatically update the model.
Key Concepts in Grasshopper Parametric Design
- Parameters: The core of parametric design, parameters are variables that influence the design’s shape, size, orientation, and other characteristics. By adjusting these parameters, designers can explore various design outcomes.
- Algorithms: Algorithms define the logic and rules that transform input parameters into the desired design output. In Grasshopper, algorithms are created by connecting different types of components that perform operations on data.
- Geometry: Grasshopper can generate and manipulate complex geometric forms that serve as the building blocks of the design. This includes points, curves, surfaces, and solids.
- Data Trees: Grasshopper uses data trees to manage and organize complex data structures, allowing for sophisticated manipulation of hierarchical data within a design.
- Components: Grasshopper’s functionality is encapsulated in components that perform specific tasks, such as creating geometrical shapes, modifying lists of data, or performing mathematical calculations.
The Design Process
- Define Goals: Start by outlining the objectives of your design, including the constraints and the aspects you wish to explore through parametric variation.
- Create the Base Geometry: Use Rhino to create the initial shapes or import existing models that will serve as the starting point for your design exploration.
- Develop the Algorithm: In Grasshopper, construct an algorithm by connecting components that define the logic of your design. This could include operations like scaling, rotating, dividing surfaces, or applying patterns.
- Experiment with Parameters: Introduce sliders or other input controls to adjust the parameters of your design. Experiment with different values to explore a range of design outcomes.
- Analyze and Optimize: Use Grasshopper’s analysis tools to evaluate the performance or aesthetics of your design. Optimization components can help refine the design to meet specific criteria.
- Finalize and Document: Once you’re satisfied with the design, you can finalize it for production or presentation. Grasshopper can generate detailed documentation, and designs can be exported for fabrication or further development in other software.
Applications
Parametric design with Grasshopper has applications in various fields, including:
- Architecture: For designing complex structures, facades, and space planning.
- Product Design: For developing consumer products, furniture, and wearable technology.
- Jewelry Design: For crafting intricate patterns and forms that are difficult to model manually.
- Urban Planning: For analyzing and designing urban layouts, landscapes, and infrastructure.
Grasshopper’s visual programming environment democratizes access to sophisticated design and modeling techniques, making it an invaluable tool for designers seeking to push the boundaries of creativity and innovation.

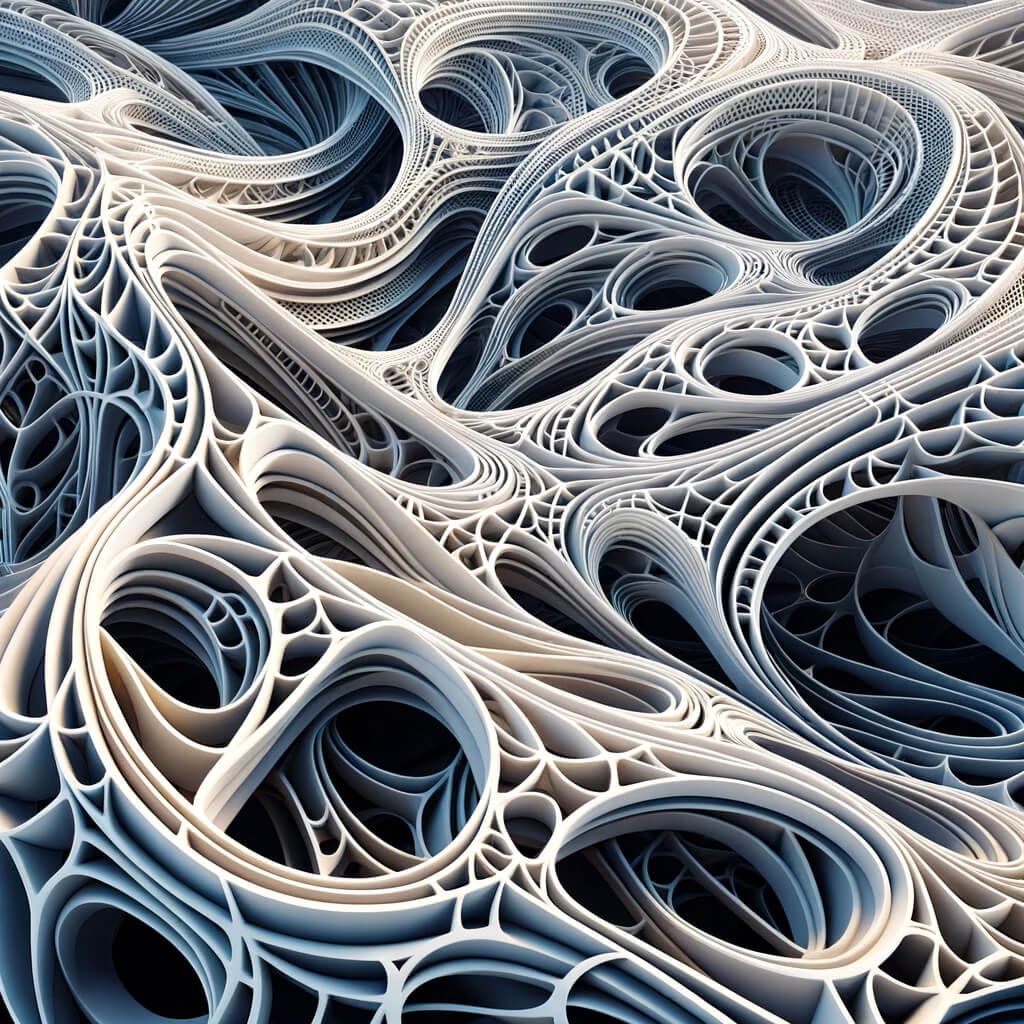
Grasshopper Parametric Pattern
Grasshopper is a visual programming tool that runs within the Rhino 3D computer-aided design (CAD) application. It’s used to build generative algorithms, allowing for the creation of complex patterns and forms through parametric modeling. A “parametric pattern” in Grasshopper refers to a design or structure defined by parameters and rules that dictate the pattern’s behavior and appearance. This approach is highly versatile, enabling designers to explore a wide range of geometries and patterns by adjusting parameters, rather than manually modeling each detail.
Creating a parametric pattern in Grasshopper involves setting up a network of nodes, each performing a specific operation on data that flows through the network. These nodes can include functions for generating or modifying geometry, controlling data structures, or even integrating external data sources. The result is a highly flexible and interactive design process, where changing input parameters can instantly transform the output geometry.
The steps to create a basic parametric pattern might include:
- Define the base geometry: Start with the basic form that will underlie your pattern. This could be a surface, grid, or any other geometry.
- Set up parameters: Introduce sliders or other input methods to control aspects of your pattern, like spacing, depth, size, or orientation.
- Create the pattern logic: Use various components to apply transformations, repetitions, or variations to your base geometry according to the defined parameters. This could involve copying shapes, dividing surfaces, or applying mathematical functions.
- Preview and adjust: View the resulting pattern and tweak your parameters or logic as needed to refine the design.
- Finalize: Once satisfied with the pattern, you might finalize it for fabrication or further use within Rhino or another application.
This process can be applied to a wide range of design tasks, from architectural facades to intricate jewelry designs. The power of Grasshopper lies in its ability to quickly iterate complex patterns and forms that would be time-consuming or impossible to model by hand.
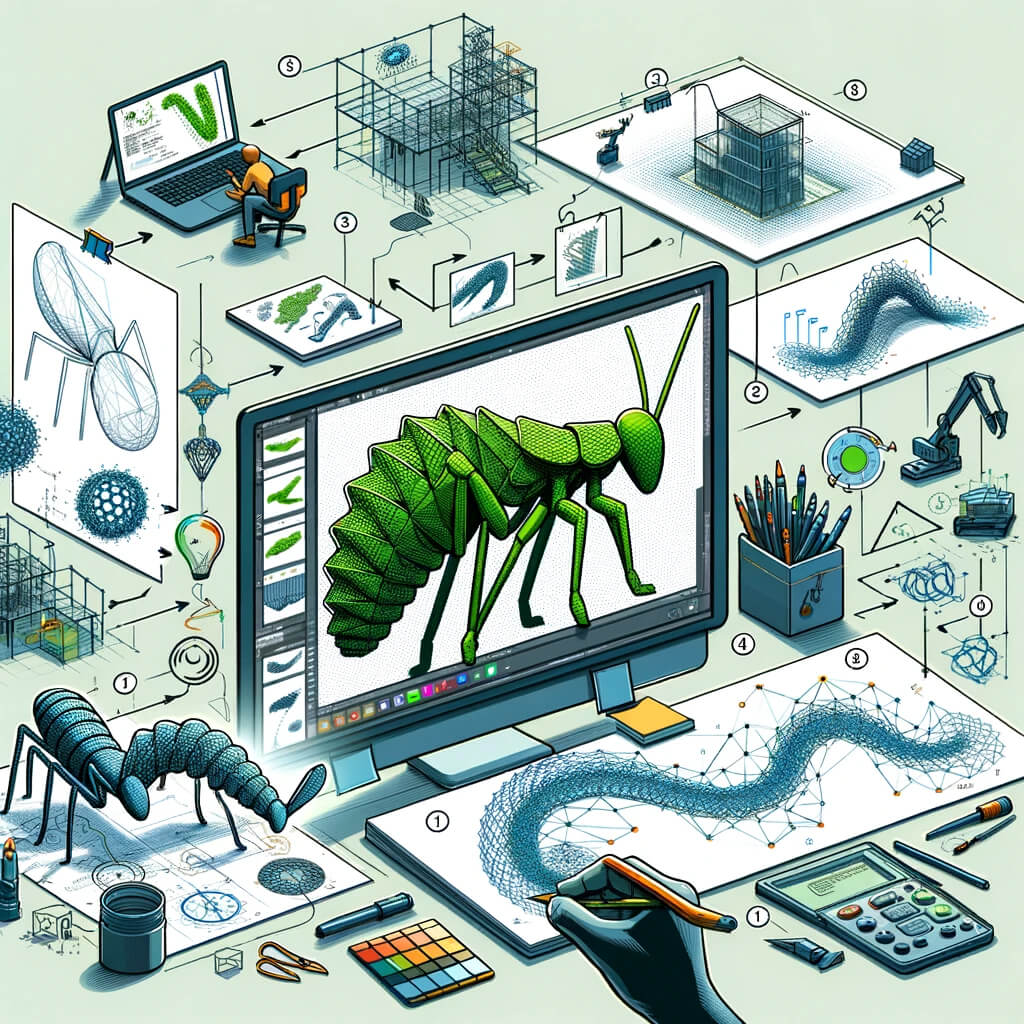
How do you create a parametric design with Grasshopper?
Creating a parametric design with Grasshopper involves a structured approach where you define the parameters that control your design and use them to generate geometry. Here’s a step-by-step guide to getting started with parametric design in Grasshopper:
1. Familiarize Yourself with the Grasshopper UI
Before diving into design, spend some time understanding the Grasshopper user interface. Key components include:
- Canvas: Where you visually program your design by dragging components and connecting them with wires.
- Components Palette: Contains all the components you can use, organized by function (e.g., curve, surface, math operations).
- Parameters: These are inputs for your design, like numbers, geometrical shapes, or Boolean values, which you can adjust to change the outcome of your design dynamically.
2. Define Your Goals and Parameters
Think about what you want to achieve with your parametric design. Parameters are the backbone of your design, determining its flexibility and variability. Common parameters might include dimensions, angles, distances, or quantities that can be adjusted to alter the design’s appearance or function.
3. Start with Basic Geometry in Rhino
Grasshopper works with Rhino to create and manipulate geometry. Start by creating simple shapes in Rhino that you want to use as the basis for your parametric design. You can reference this geometry in Grasshopper to begin manipulating it parametrically.
4. Add Geometry to Grasshopper
- Reference Rhino Geometry: Use components like
Curve,Surface, orBrep(boundary representation) to bring your Rhino geometry into Grasshopper. - Create Geometry in Grasshopper: Alternatively, you can create new geometry directly within Grasshopper using its geometric components.
5. Apply Parametric Logic
- Manipulate Geometry: Use transformation components (e.g., move, rotate, scale) to manipulate your geometry based on input parameters.
- Control Parameters: Add sliders, toggles, or other input components to dynamically adjust values that affect your design.
- Generate Patterns: Utilize repetition, array, or pattern components to create complex arrangements or details in your design.
6. Analyze and Iterate
As you adjust parameters, Grasshopper updates your design in real-time, allowing you to see the implications of changes immediately. Use this feedback loop to iterate on your design, refining and adjusting parameters until you achieve your desired outcome.
7. Finalize Your Design
Once satisfied with the parametric model, you can bake the Grasshopper geometry into Rhino to finalize the design. This converts the parametrically generated objects into standard Rhino objects for further refinement, documentation, or preparation for fabrication.
Tips for Success
- Start Simple: Begin with straightforward projects to get comfortable with Grasshopper’s logic and workflow.
- Explore Components: Experiment with different components to understand their functionality and how they can be combined.
- Use Groups and Labels: Organize your Grasshopper canvas by grouping related components and labeling them for clarity.
- Learn from Others: The Grasshopper community is vast and supportive, with numerous tutorials, forums, and example files available to learn from.
By following these steps, you can harness the power of parametric design with Grasshopper to create dynamic, flexible, and innovative designs.
Grasshopper parametric facade
Creating a parametric facade with Grasshopper involves leveraging the software’s ability to manipulate complex patterns and geometries based on defined parameters. This process allows architects and designers to explore innovative facade designs that can adapt to various functional and aesthetic requirements. Here’s a step-by-step guide to conceptualizing and developing a parametric facade in Grasshopper:
1. Define Your Design Goals and Requirements
- Performance: Consider how the facade should perform in terms of sunlight filtration, thermal insulation, and ventilation.
- Aesthetics: Decide on the visual impact you want to achieve, such as patterns, transparency, and materiality.
- Contextual Factors: Take into account the surrounding environment, building orientation, and local climate.
2. Set Up Your Base Geometry in Rhino
Start by creating the basic shape of your building facade in Rhino. This could be a simple flat surface or a more complex geometry depending on your project. This geometry will serve as the canvas for your parametric design in Grasshopper.
3. Begin Your Grasshopper Definition
- Reference Your Rhino Geometry: Use the ‘Surface’ component to reference your facade geometry in Grasshopper.
- Divide the Surface: Use components like ‘Divide Surface’ to create a grid on your facade. This grid will be the basis for applying patterns or modules.
4. Create the Parametric Logic
- Design the Modules: Define the basic building block of your facade design, such as a window, panel, or shading device. You can use geometric operations to create these elements.
- Apply Parameters: Introduce sliders and other input components to control aspects like the size, spacing, orientation, and openness of your facade elements. These parameters will let you adjust the design dynamically.
- Map the Modules: Use pattern generation techniques to map your modules onto the facade grid. Experiment with different mappings to achieve the desired aesthetic and performance characteristics.
5. Integrate Environmental and Contextual Analysis
Grasshopper, in conjunction with plugins like Ladybug and Honeybee, can be used to analyze environmental factors such as sunlight exposure and thermal performance. Use this analysis to inform the adaptive aspects of your facade design, ensuring it responds optimally to its environment.
6. Optimize and Refine the Design
- Iterate: Use the feedback from your analyses and visual evaluations to iterate on your design. Adjust your parameters and logic to refine the facade’s functionality and aesthetics.
- Optimization: Consider using optimization tools available within Grasshopper or through plugins to find the best possible design solutions based on predefined goals.
7. Finalize and Document Your Design
Once you are satisfied with the design, you can finalize it by:
- Baking: Convert your Grasshopper geometry into Rhino objects for further refinement or preparation for construction documentation.
- Visualization: Use Rhino’s rendering tools or export to other software for high-quality visuals.
- Documentation: Prepare drawings, specifications, and other documents necessary for construction.
Tips for Advanced Parametric Facade Design
- Custom Scripts: For more control and complexity, consider writing custom scripts within Grasshopper using Python or C# components.
- Interactivity: Explore interactive design elements that can change in response to user input or environmental conditions.
- Fabrication: Think about how the elements of your facade will be fabricated and assembled, using Grasshopper to simulate or prepare for manufacturing processes.
Designing a parametric facade with Grasshopper allows for a highly iterative and responsive approach to facade design, blending aesthetics, functionality, and environmental sensitivity into a cohesive whole.